SICAT Implant - Features such as Image Plane Adjustment, Measurements or Nerve Mapping
- Description
- Curriculum
- FAQ
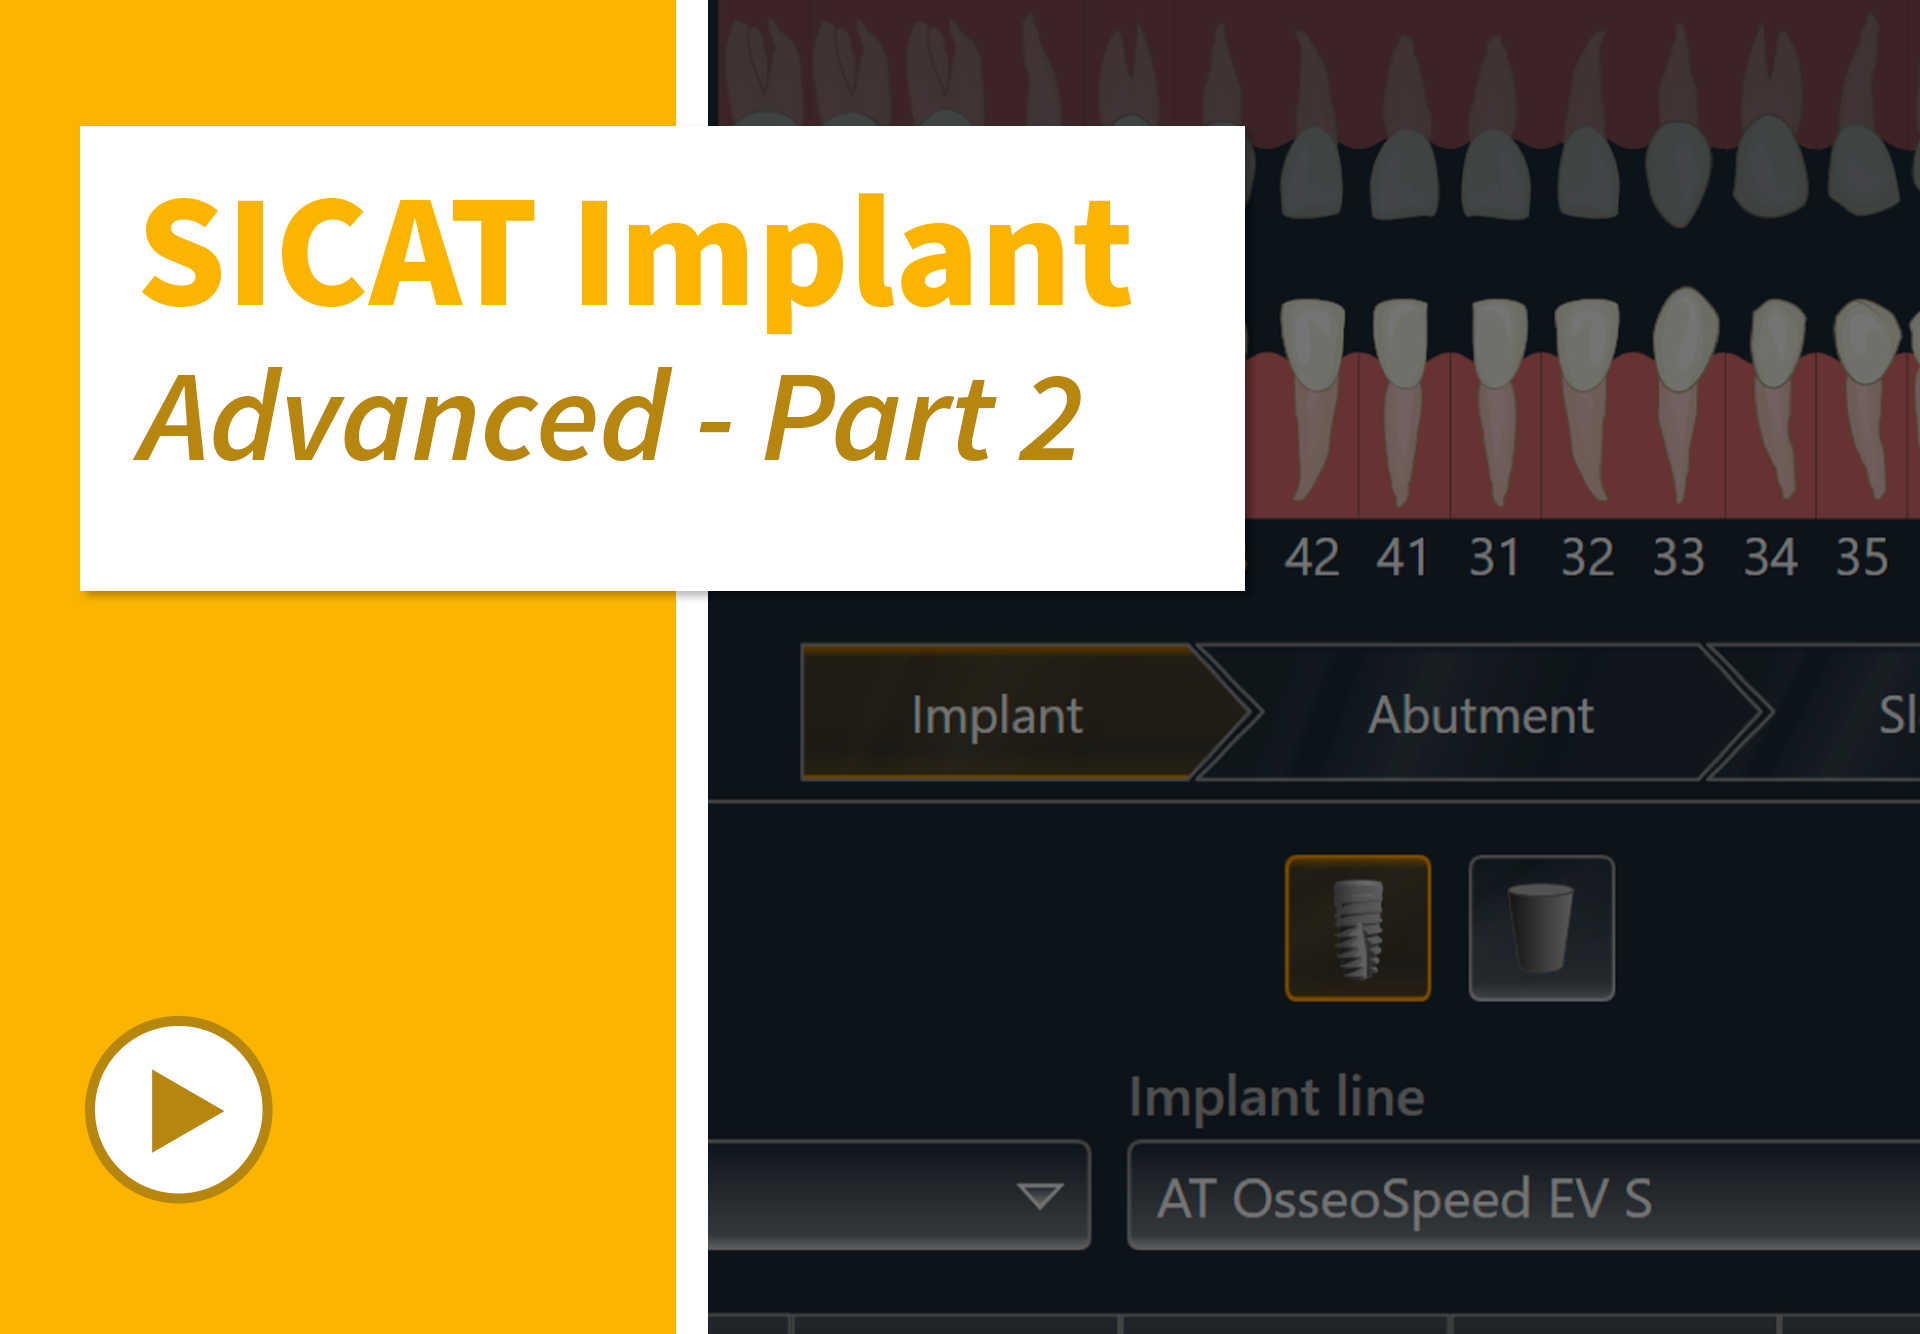
 Learn in this course about the additional options offered by the software and how to best utilize them. Discover the advantages of multiple views with recurring procedures. Customize measurements of angles and distances according to your needs and learn how to visualize sensitive structures such as nerve canals. Also get valuable tips and advice on how to automatically align implants parallel to each other or how to take abutments into account. After this course you will know exactly how to integrate 3D implant planning and the SICAT Implant workflow into your daily practice.
Contents
- How to use the MPR view
- How to use the panoramic view
- How to use the inspection window
- How to adjust the image plane
- How to use the 3D rendering
- How to measure distance
- How to measure angles
- How to use the nerve mapping tool
- How to parallelize implants
- How to consider abutments
Target Group
Dentists who already have experience with the SICAT Implant software and want to use even more functions. Applicable for all those who have already completed the SICAT Implant Basic Course or SICAT Implant Advanced Part 1.
Additional information
Last Update: 2022-08-31
-
1Using the MPR view
How to evaluate important structures
-
2Using the panoramic view
How to adjust the panoramic curve and the thickness to both jaws
-
3Using the inspection window
How to display slices parallel to the panoramic curve
-
4Adjusting the image plane
How to view even inclined structures
-
5Using the 3D rendering
How to benefit from 3D visualization
-
6Measuring the distance
How to enable precise implant planning
-
7Measuring the angles
How to support your diagnosis by determining angles
-
8Using the nerve mapping tool
How to ensure safety distance to the mandibular nerves
-
9Parallelizing implants
How to place implants parallel to each other
-
10Considering abutments
How to visualize abutments for further prosthetic considerations
1. Open the planning project
2. Perform your adjustments
3. Click on Manage plans (gears icon) in the "Plans" area and then Export plan
4. Note that for a plan change usually no optical impressions must be submitted and deactivate the selection here if necessary.
5. Select the desktop as storage location in the "Path" area and
6. Click on Export plan.
On your desktop screen you will subsequently find a zip-file (once you have activated the check box “Export to zip file” within the “Manage Plans” menu) which can be attached to an e-mail. Send the e-mail to [email protected]
(If you would like to submit optical impressions and/or volume data in special cases, please use the SICAT Portal).


